
The datamap web site is based on WordPress, which makes for an excellent platform to build, organise and share maps.
Storing maps in the online account is an essential step before you can use the batch processing feature of the software to capture data from a full folder of documents. This is where datamap provides the most value, as with a single account you can log in from multiple computers in your office and process thousands of documents per day.
Note When you register for a user account you will not automatically have editing privileges – this is conditional on the purchase of the software license. Until then, you are welcome to install the add-in, create documents from images, and test maps locally in the taskpane.
Once you have purchased the software and have full access to your account, familiarise yourself with the features and process of creating document types and maps below:
- Dashboard
- Document Types
- New Document Type
- Add Map
- Duplicate Block
- Move Up / Move Down
- Delete Block
- Publish Document Type
- Protect Document Type
Dashboard
Once you have logged in, the dashboard is the main area where you will be working.
The most straightforward way to get to the dashboard is to click the button in the top left corner of the site.
Document Types
When testing in the taskpane you can have loose maps in your document, but in your online account each map must exist within a document type. A document type is a container that groups maps together when processing a folder on disk. The specified document type(s) will run on all documents in the folder and produce a full set of results from all maps.
Each document type is modelled on a WordPress post, which is a single blog-style publication. In the Document Types area of the dashboard you can see all the items you have created so far and information about their status including the author, whether they are published or draft, and a preview.
You can also add a new document type, which is the first thing you will need to do when getting started.

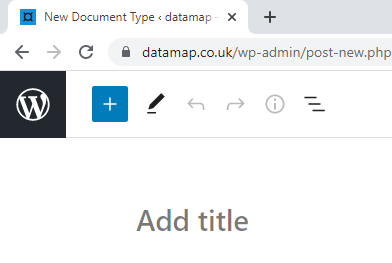
New Document Type
After adding a new document type, give it a title.
An appropriate title might match the category of document you are processing, for example ‘Invoice’ or ‘Order Form’. WordPress posts for datamap are referred to as document types because you will usually want to capture the same kind of data from documents of a given type.
You will reference this title in the Document Type text box on the ribbon tab.
Note Even though it is not enforced by the WordPress editor, including the pipe (|) character in a document type title is not supported.
Add Map
The method of adding a map in the online account shares some similarities with adding a map in the taskpane.
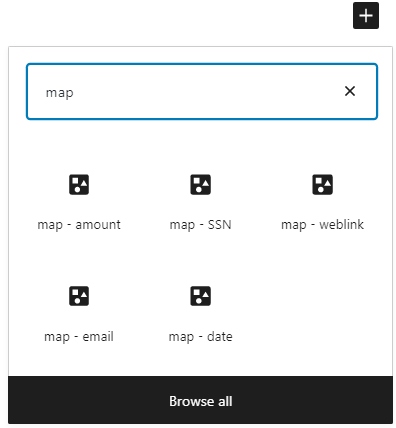
Use the ‘+’ button on the right hand side, which is the standard way to add a new block element to the post in the WordPress editor. Map types are provided via the reusable block system, as pre-built templates which contain a FIND block and WITHIN block for convenience when editing. More map types are available in the online account than are available in the taskpane.
Type ‘map’ to see all the available map types, then click any reusable block to insert it into your post.
Convert Map
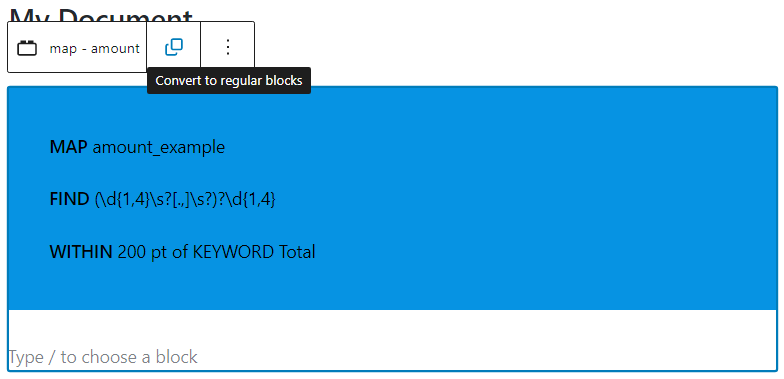
After adding a map, the very first thing you must do is convert the reusable block to regular blocks. By default, the block is inserted by reference (that is, simply as a link) so if you begin editing you will actually be attempting to edit the master template, which is read-only and will raise errors when you try to save your post.
Click Convert to regular blocks to save the template as a local copy in your document type, and hence give you full control to edit it as you wish.
Duplicate Block
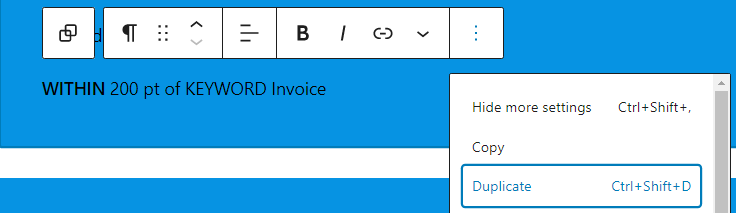
The best way to create a new WITHIN block is to duplicate an existing one. This saves some time typing the syntax elements and keeps the look and feel the same.
To duplicate a WITHIN block, simply click inside an existing line (anywhere) and select Duplicate from the Options menu. You can then edit the new block as required.
You can duplicate a whole map by clicking the outer border of the map and selecting the same Duplicate option, if this is more convenient to you than adding one via reusable blocks.
Move Up / Move Down
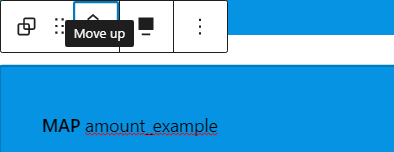
You can move blocks up and down using the arrow buttons in the context menu for any individual block.
If you want to move a whole map up or down in the running order, click the outer border of the map and use the same arrow buttons.
Note The order of maps can be important when referencing map results from a WITHIN block.
Delete Block
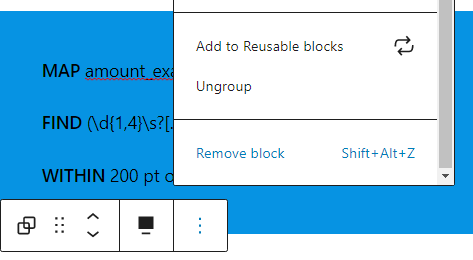
To delete any block, simply click inside an existing line (anywhere) and select Remove block from the Options menu.
You can delete a whole map by clicking the outer border of the map and selecting the same Remove block option.
Publish Document Type
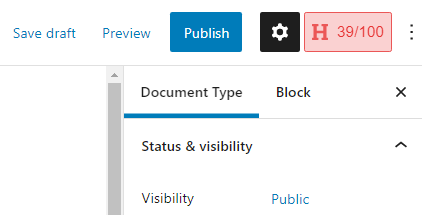
Using the options in the top-right corner of the editor, you can Publish a document type if you are ready for it to go live and be available to the Microsoft Word add-in for testing or batch processing. Alternatively, click Save draft if you are still working on it.
By default, the document type is saved as a Public post that any user of datamap can view and take inspiration from. Such collaboration is encouraged within the platform and you can also leave comments on each other’s document types with questions or suggestions.
However, if you wish to keep your document types confidential, you can password-protect them as described below.
Protect Document Type
If your maps contain proprietary implementations or specific regular expressions that you wish to keep under wraps, you can password-protect your document type.
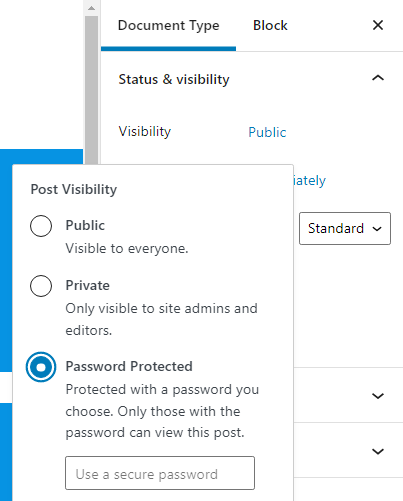
- With the Document Type tab selected, expand the Status & visibility options group if it is not already open
- Next to Visibility, click on the word Public to display alternative options
- Select Password Protected and provide a password
- Publish or Update your document type
When choosing a password, keep the following in mind:
- The protection password does not have to be your main online account password, but can be
- Use a consistent password for all protected document types, as there is only one place to specify the password on the ribbon tab
- The password is fully readable when displayed on the ribbon tab, so ensure that you are happy for your Microsoft Word users and anyone who might view that computer to know this password
Note Posts saved as Private are no more visible or accessible than drafts, and are not supported for use with datamap.